

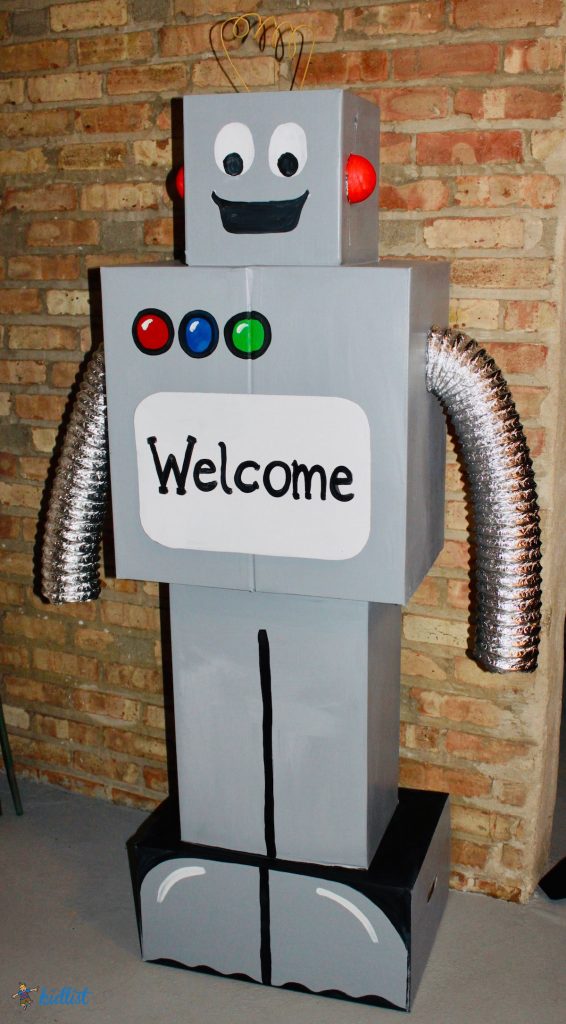
If you have kids that are into robots, this project is for you! You can make the robot any size you would like using these instructions- it just depends on what size boxes you have! It’s a great way to repurpose Amazon boxes or anything you have lying around. This cardboard robot is easy to make and your kids can get involved too.
5 Steps for How to Make a Cardboard Robot
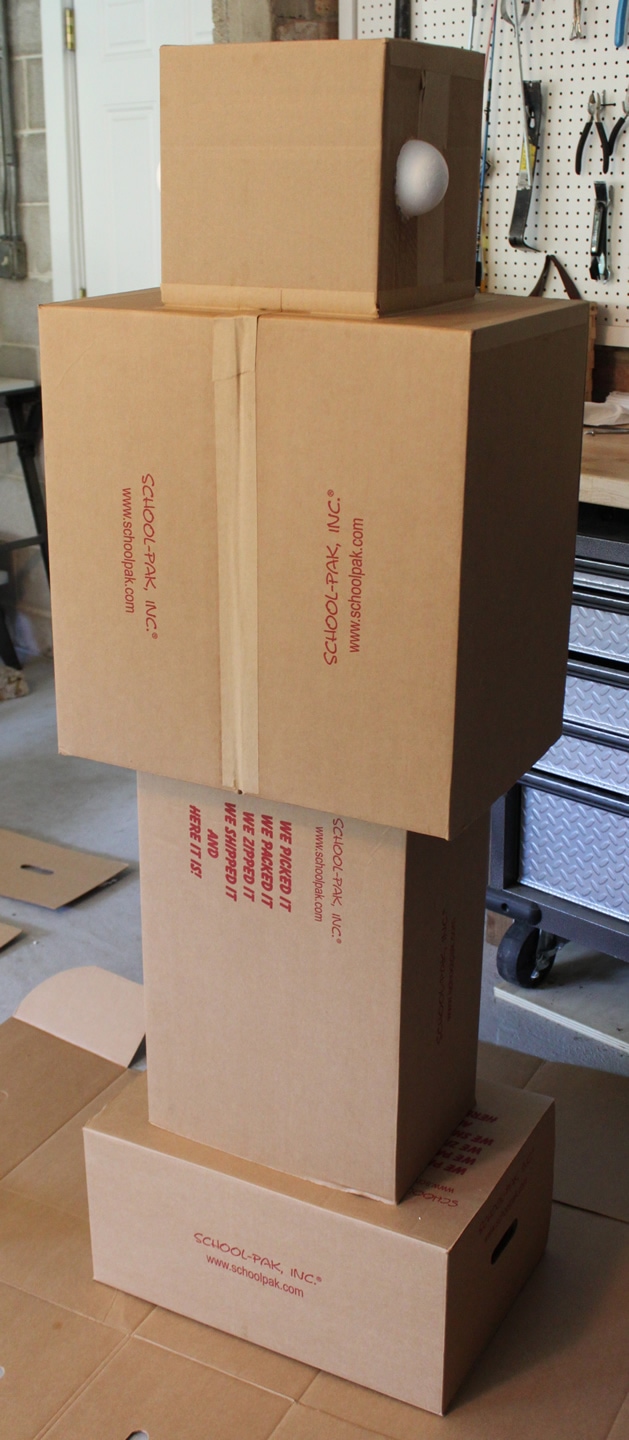
1. Glue boxes together to make the robot body.
First I glued the boxes to each other with wood glue. You can use Elmers glue, craft glue or whatever glue you prefer. I prefer wood glue because it is very strong and thicker than other types of glue, so it doesn’t run all over the place. Plus, I can use it for other projects because it’s so versatile.
2. Hide seams with gummed paper tape.
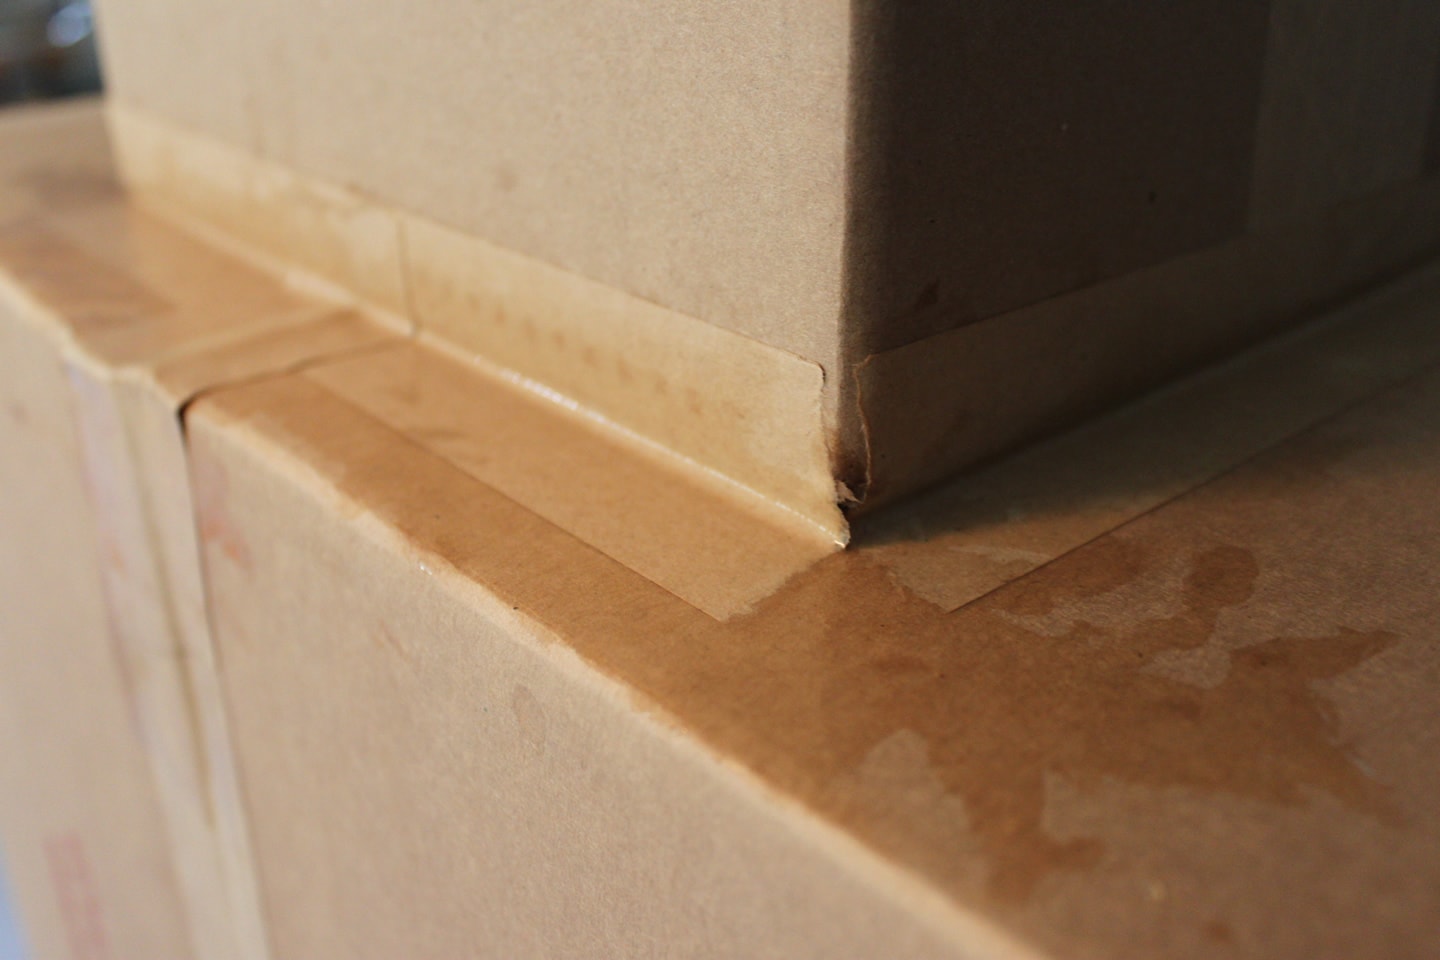
I covered any seams I didn’t want to show with paper tape. Gummed paper tape is something I like to have around because it dries fairly quickly, completely blends into cardboard and can be painted. It is traditionally used to stretch watercolor paper and therefore I have only been able to find it at an art store such as Blick Art Materials and I have never seen it at hobby and craft stores. It works like old fashioned stamps (the kind you lick). You tear or cut a piece of paper tape off the roll and briefly dip the entire length in a bowl of water, then stick it to the surface you want to adhere and cover. You can slide it into position a bit, but then you want to leave it alone to dry. It’s really strong once it dries. You can use duct tape if you would like, but you will definitely see the edges of the tape, even through the paint.
3. Make ear bolts and arms.
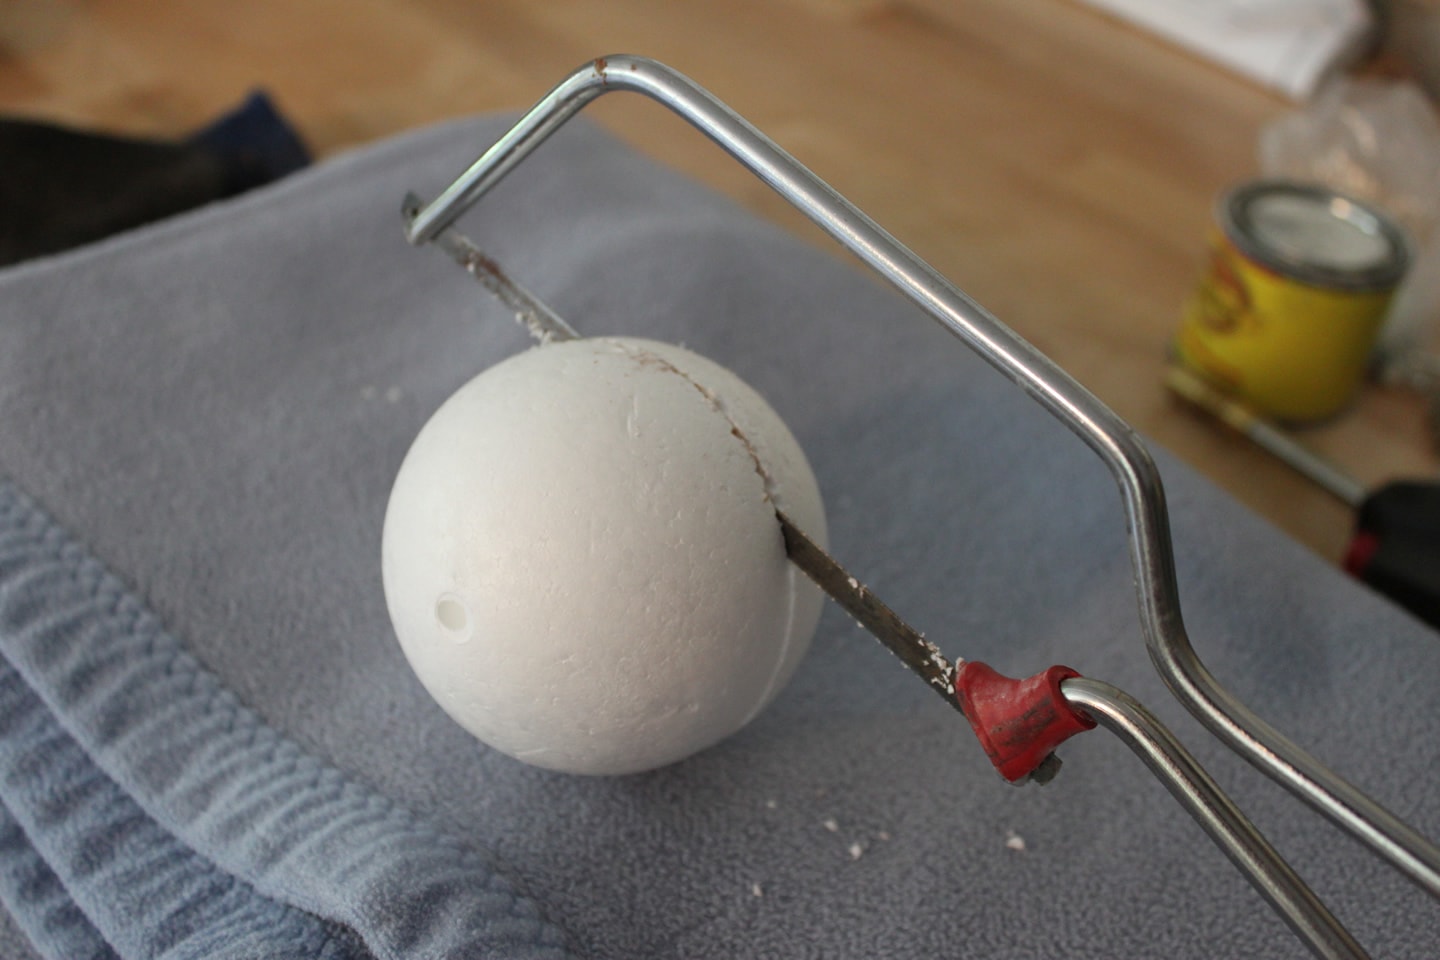
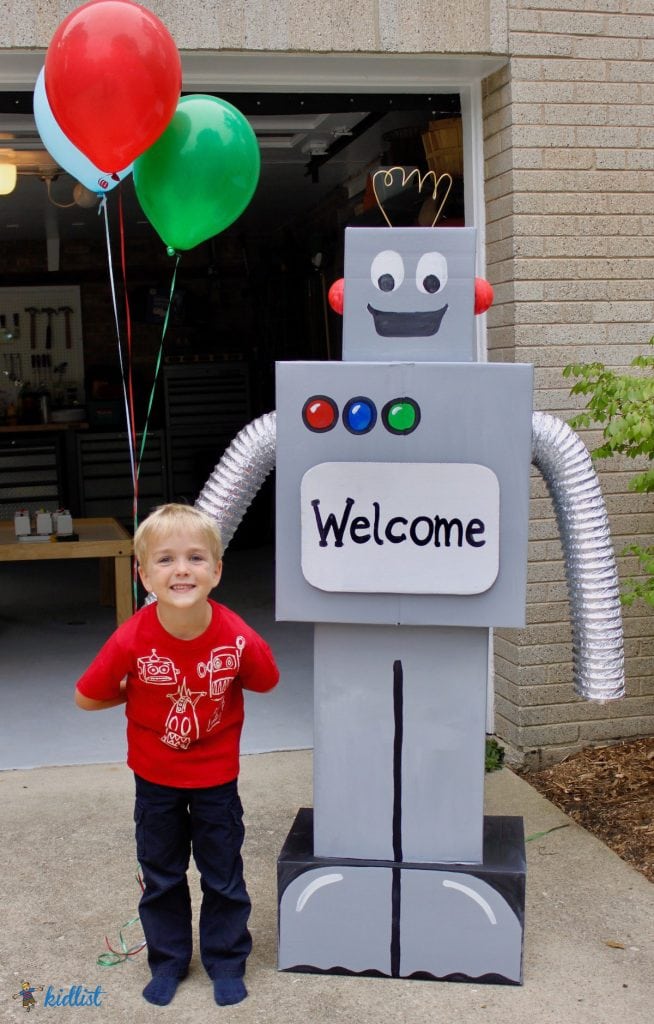
I cut a styrofoam ball in half for the “ears” on either side because they look like the end of bolts. Then I bent a clothes hanger into a coil and stuck it on top of the head to look like wiring to add more detail.
Expandable dryer vent hose worked well for the arms. I cut a hole slightly smaller than the diameter of the hose (I used 4 inch hose) and fed the first couple rings of hose into the hole. Making the hole slight smaller than the hose diameter kept it in place well.
4. Time to paint your cardboard robot!
Let your creativity run wild. This is a great part to involve your kids in. You can use cheap house paint, tempera paint or acrylics… whatever you feel like using. I used house paint because it covers well and is fairly inexpensive.
5. Enjoy!
It’s fun to welcome guests of a birthday party with a robot at the door or just a great project to spark imagination. My son and I talked all about how he wanted the robot to look and what colors to use. It was fun to work together on the project! And when your kids are done enjoying it, put it on Craigslist, a BST group on Facebook, or in the recycling pile for garbage day!
Want to make something else out of cardboard?
How to Make a Cardboard Train
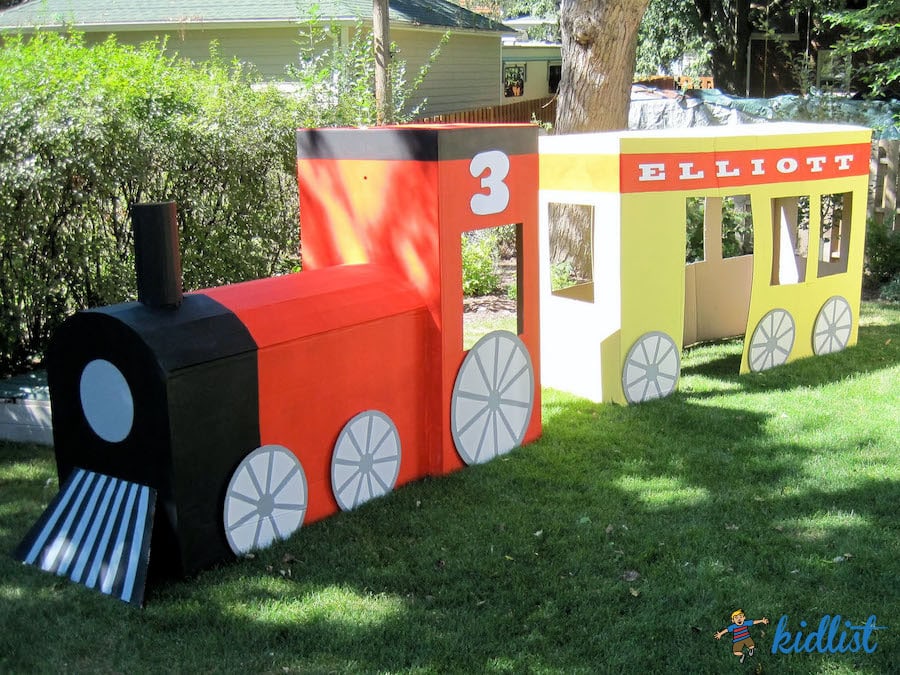
Click here to find out how to make this cardboard train!


9 Comments. Leave new
Can you tell me the demensions of the cardboard boxes ?
The robot ended up being four and a half to five feet tall. I would estimate the head to be around an eight or nine inch cube. I used School Pak boxes, which are boxes that the schools use to deliver school supplies. You can really use any size boxes you would like, depending on how big you want the robot to be.
hi, what did you make the arms out of??
Dryer vent flexible hose. You can get it at any hardware store or big box home improvement store.
What do you have
How many boxes did you use?
I used five boxes. These boxes happen to be from school supplies we had ordered (I taped two together for the body), but you can use four different sized boxes or whatever you have. :)
What sizes were the boxes?
They were just different sized Amazon boxes. You can make it with whatever size boxes you have.